
Industrial Single-Tank & Special Cleaners
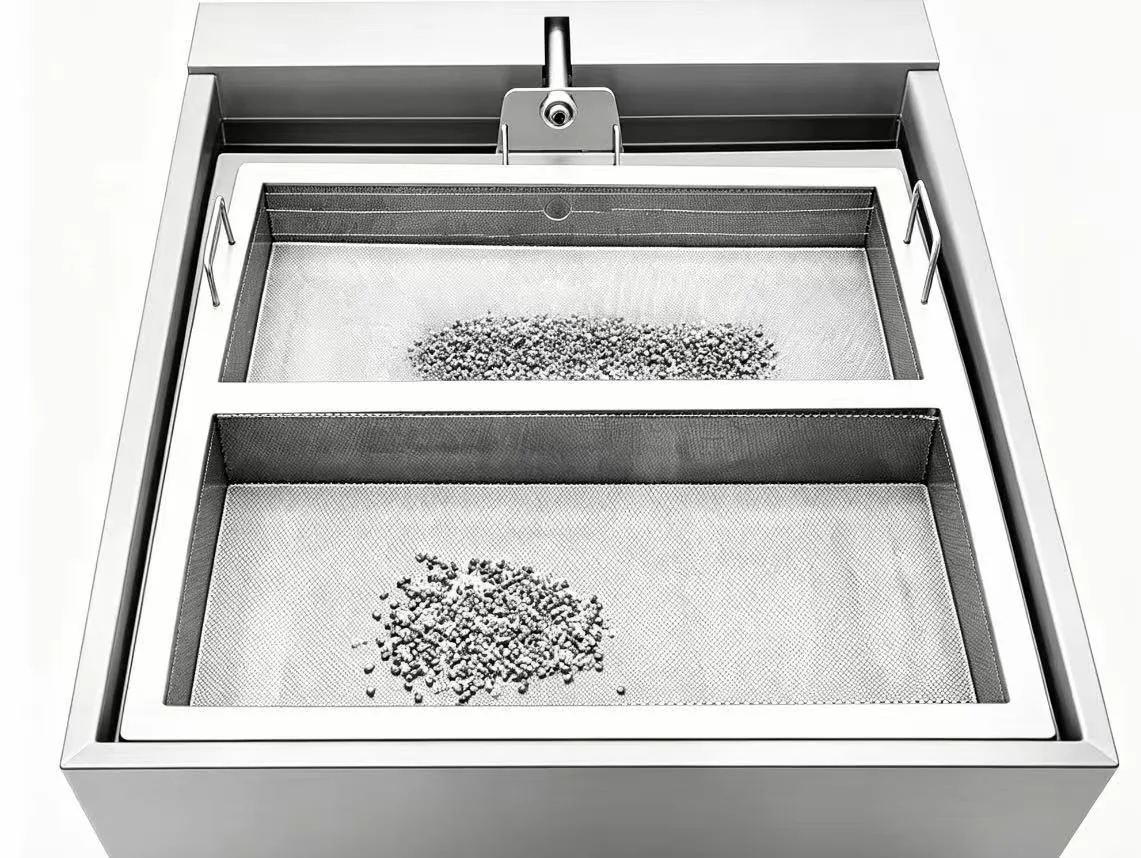
Ultrasonic Cleaner with Filtration & Oil Skimmer
Single-tank ultrasonic cleaning with circulating filtration and oil-water separation
View configuration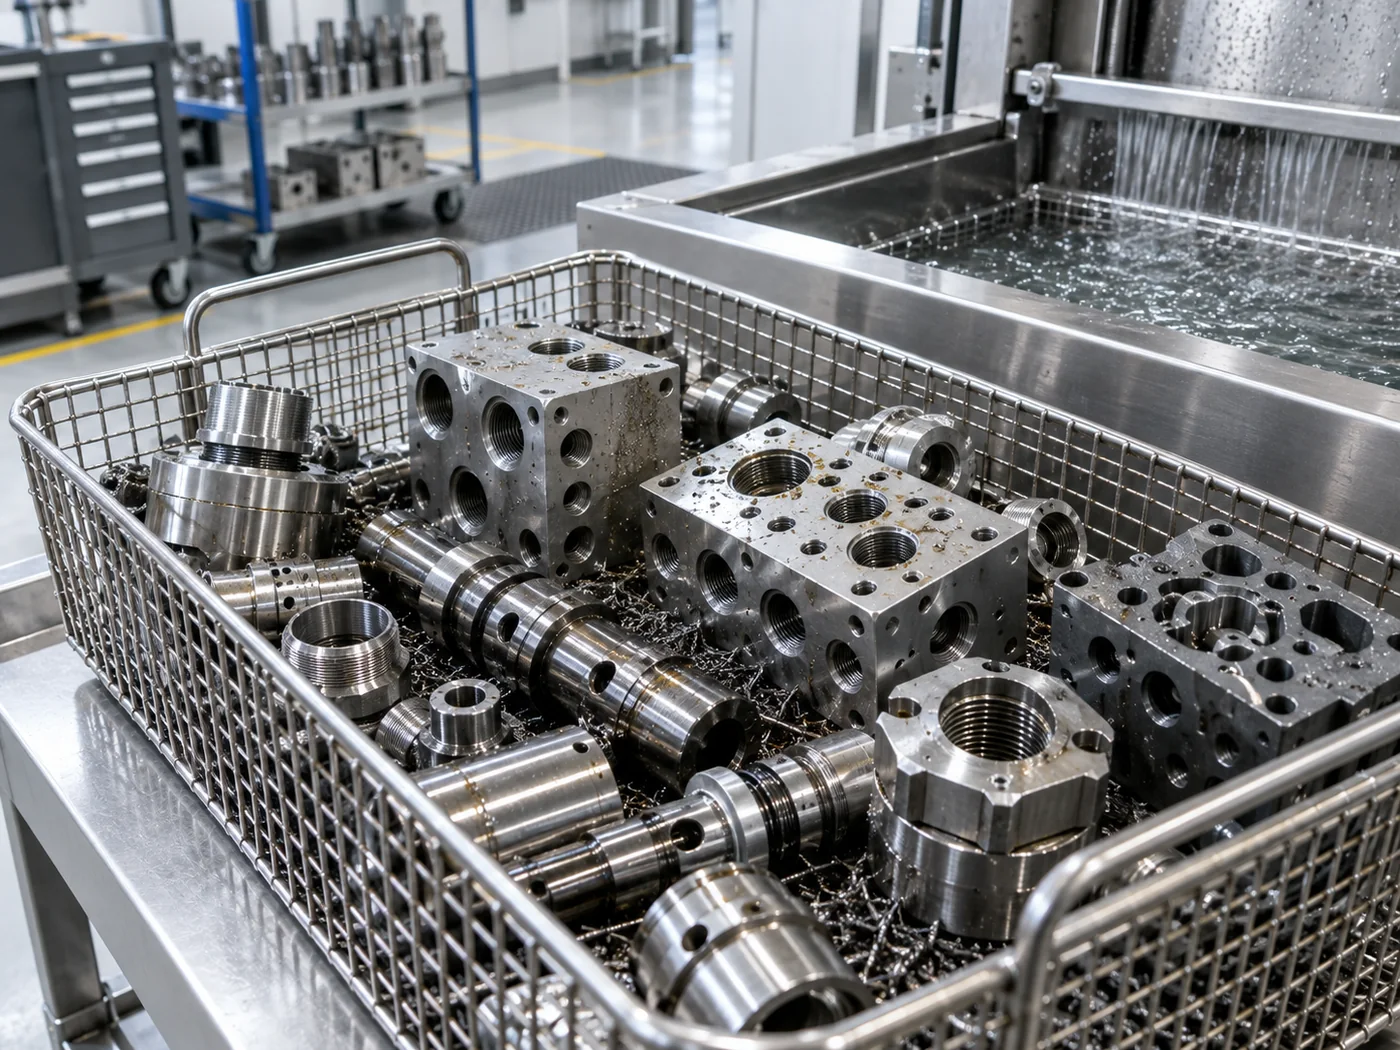
LENJEX Industrial Cleaning
Removes drawing oil, stamping lubricant and fines from stamped and sheet-metal parts in high volume.
Why Ultrasonic
Stamped and sheet-metal parts carry drawing and stamping oil, lubricants, fines and sometimes light rust. Ultrasonic cleaning lifts these soils from creases, drawn features and the surfaces of nested or stacked parts, with oil skimming to keep the bath usable.
The work is closely tied to degreasing and oil and grease removal. A ultrasonic cleaner with filtration suits batch work, while a rotary basket line or mesh-belt line handles continuous high volume.
Oil loading, nesting and any corrosion risk are reviewed before choosing the stage and chemistry.
Typical Workpieces
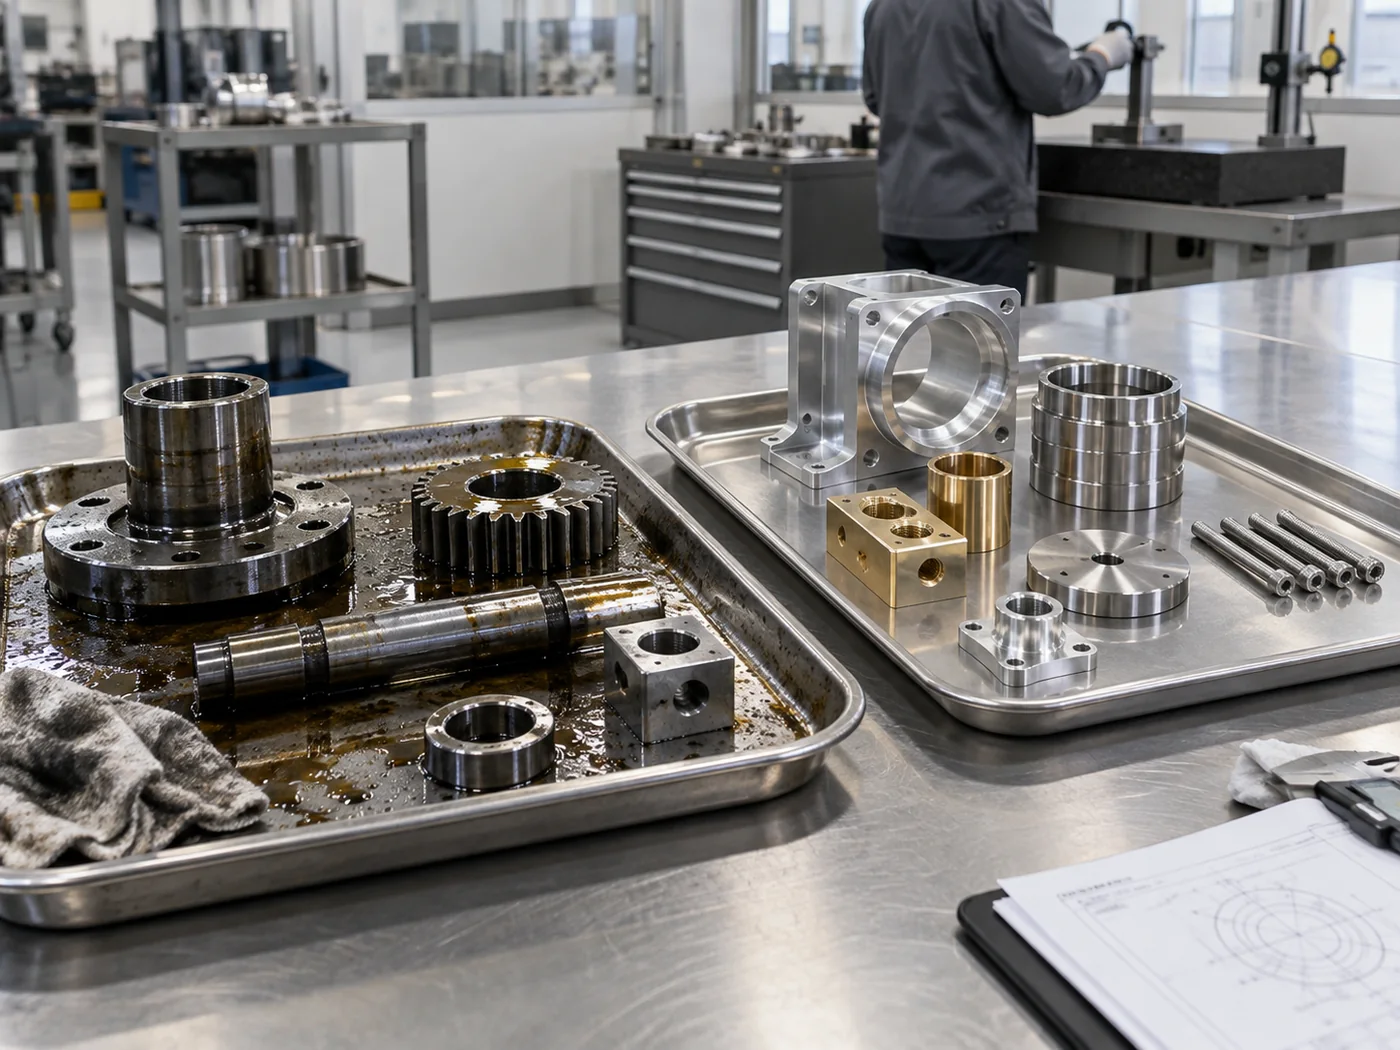
Contamination
Cleanliness Target
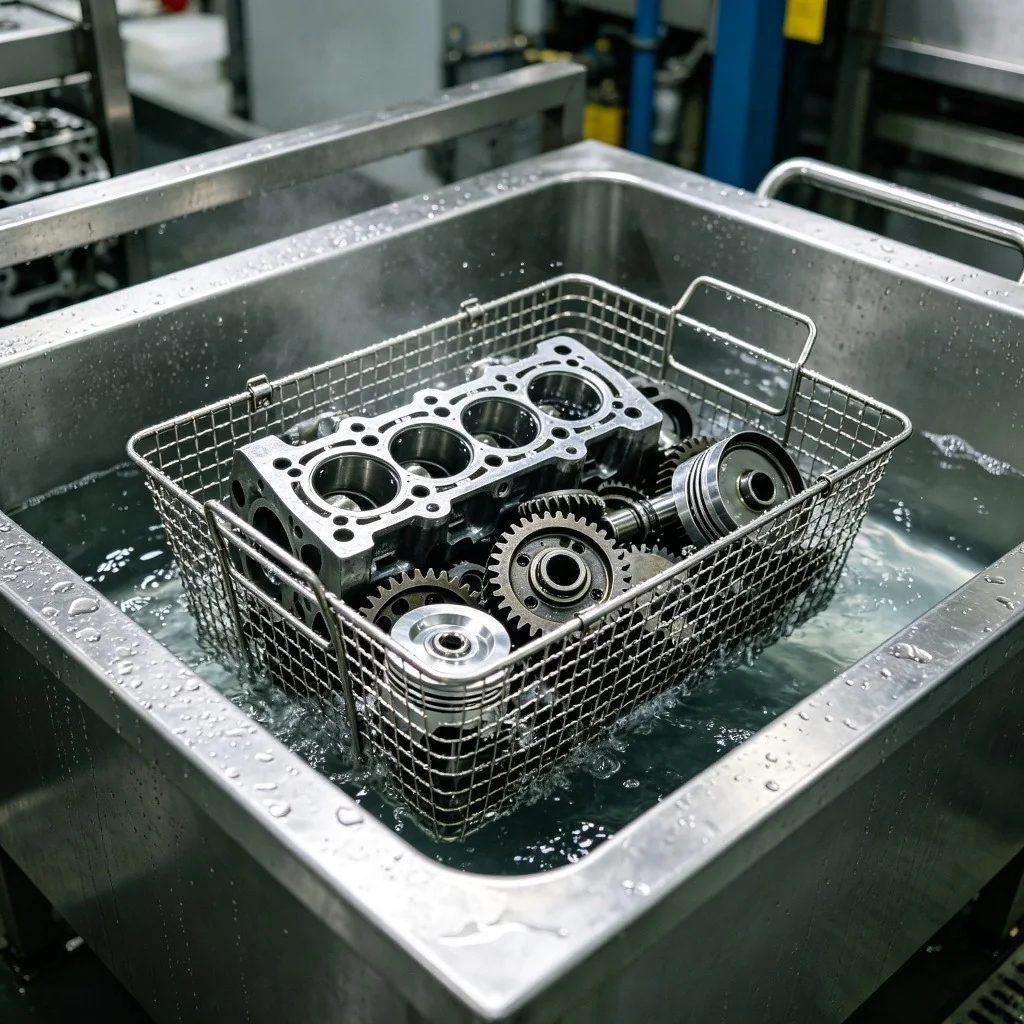
Acceptance is based on surface cleanliness, oil checks and freedom from corrosion, often ahead of plating, coating or assembly.
Rust inhibitors or prompt drying may be needed for ferrous parts.
Recommended Sequence
The final sequence depends on soil loading, material, rinse quality and drying behavior.
Recommended Equipment
The final specification follows process testing and production analysis.
Industrial Single-Tank & Special Cleaners
Single-tank ultrasonic cleaning with circulating filtration and oil-water separation
View configuration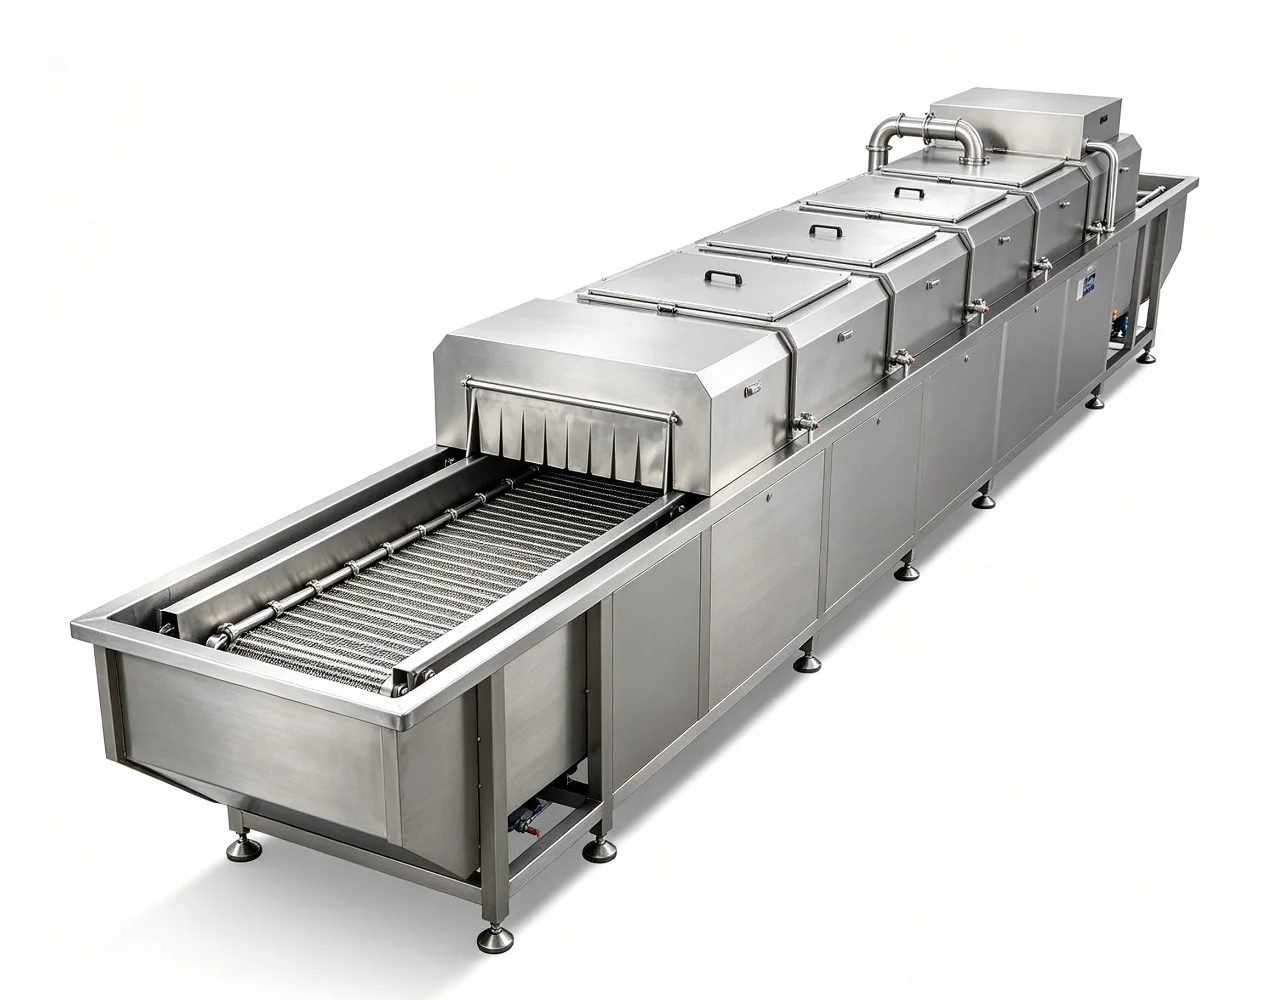
Multi-Tank & Automatic Cleaning Systems
Automatic rotating-basket multi-stage cleaning and drying line
View configuration
Automatic Cleaning Lines
A continuous tunnel line that carries uniform parts through ultrasonic wash, rinse, air-knife water removal and hot-air drying zones.
View configurationProcess Controls
Confirm the part, soil, loading and final handling before fixing equipment settings.
Control 01
Record surfaces, cavities and features that can trap air or liquid.
Control 02
Test the heaviest representative contamination, not an ideal sample.
Control 03
Keep acoustic access and part spacing consistent with production.
Control 04
Match downstream handling to residue and corrosion risks.
System Selection
Stage count and automation follow the validated process and required output.
Batch
Compare for focused washing where rinsing and drying are managed separately.
Multi-stage
Add controlled stages when carryover and final condition matter.
Automatic
Evaluate automation when output, handling or recipe control requires it.
Acceptance
Use the same practical inspection method for trial samples and production parts.
Representative Trial
Trial evidence should cover normal production and the most difficult expected condition.
Application Questions
Include normal production parts and the most difficult expected geometry or contamination so the process is not based on an easy sample.
Provide part dimensions, material, soil, cleanliness target, parts per load, required output and available utilities.
Parts are arranged to allow liquid exchange, with filtration and oil skimming; continuous lines tumble or convey parts to expose nested surfaces.
It can if left wet. Prompt drying, rust inhibitor or controlled handling protect ferrous parts until plating or assembly.
High-volume stamping usually moves to a mesh-belt or rotary-basket line, while a single-tank machine suits batches and mixed parts.
Related Applications
Industrial Application
High-volume degreasing of bolts, nuts, screws, washers and fittings, removing oils, fines and light rust.
View cleaning approach
Industrial Application
Metal parts vary widely in alloy, geometry, surface finish and soil load, so chemistry and energy must be selected as one process.
View cleaning approach
Industrial Application
Removes die-release agent, machining oil, casting residues and particles from aluminum, zinc and other castings.
View cleaning approach