
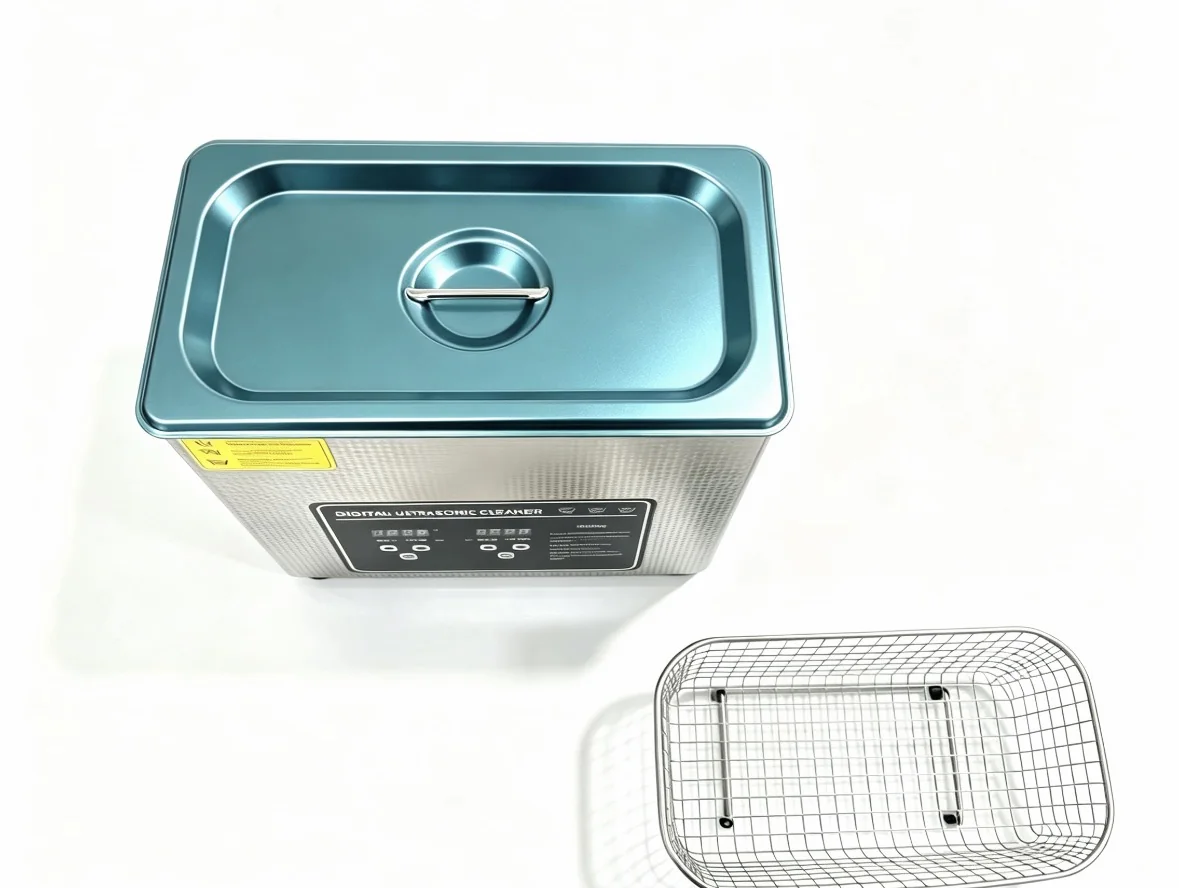
Benchtop & Laboratory Ultrasonic Cleaners
Laboratory Ultrasonic Cleaner with Degas & Sweep
Scientific lab ultrasonic bath with degas, sweep and precise control
View configuration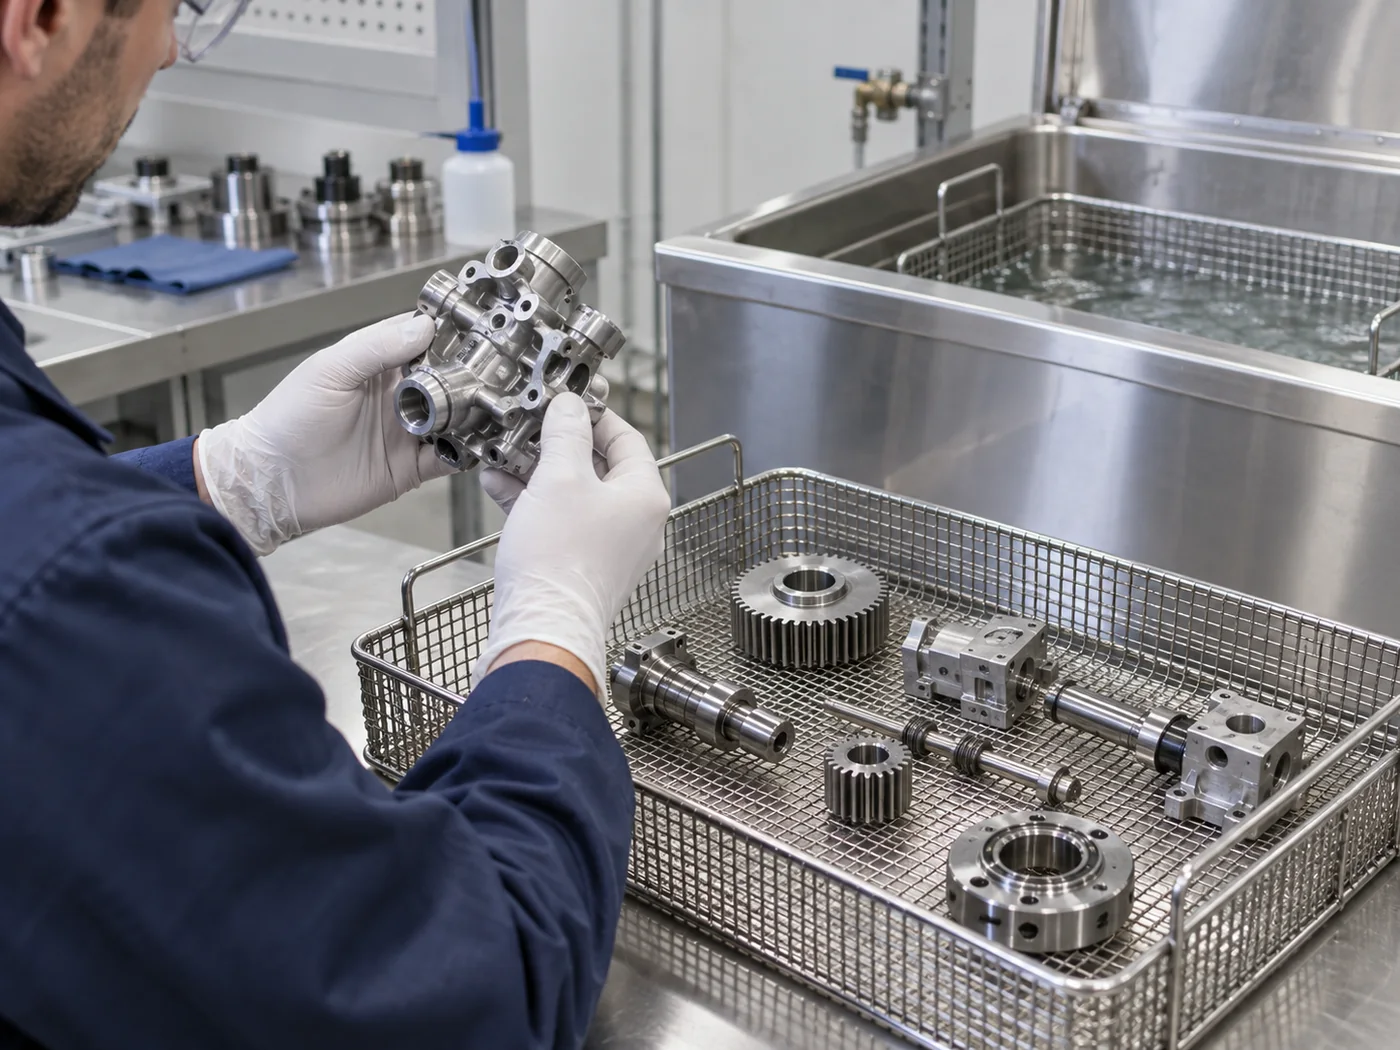
LENJEX Industrial Cleaning
Ultrasonic cleaning removes blood, tissue and contamination from surgical and dental instruments, including box locks, serrations and lumens, before sterilization.
Why Ultrasonic
Surgical and dental instruments rely on thorough cleaning before sterilization, because organic soil can shield microorganisms from the sterilant. Ultrasonic cavitation penetrates box locks, hinges, serrations, cannulas and lumens that manual brushing cannot reach consistently.
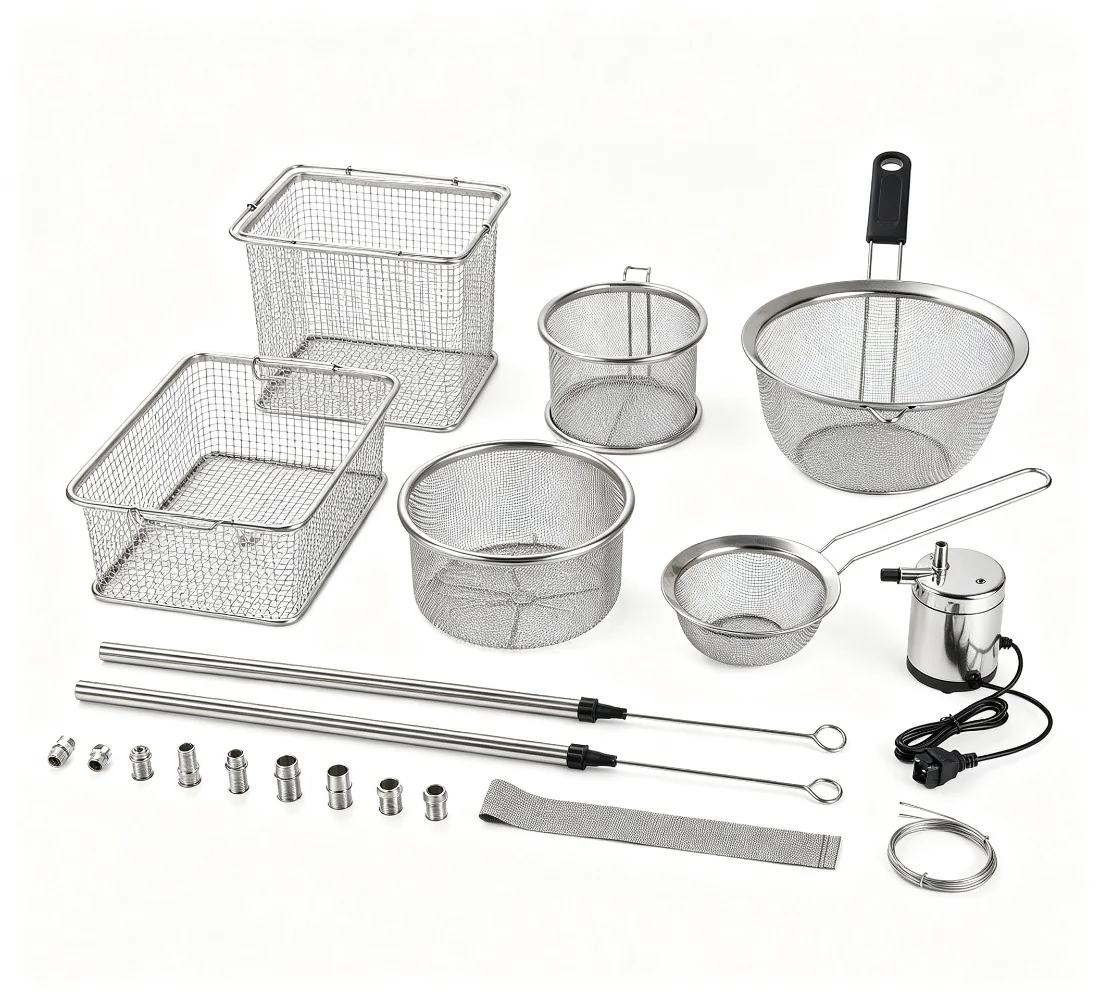
An enzymatic or instrument cleaning solution is commonly used in a heated bath, with baskets that separate instruments and lids that contain aerosols. The laboratory ultrasonic cleaner and heated general-purpose cleaner platforms are adapted for the instrument type and volume.
Note that the equipment cleaning stage must be validated and used within the facility's defined reprocessing workflow; it does not replace sterilization.
Typical Workpieces
Contamination
Cleanliness Target
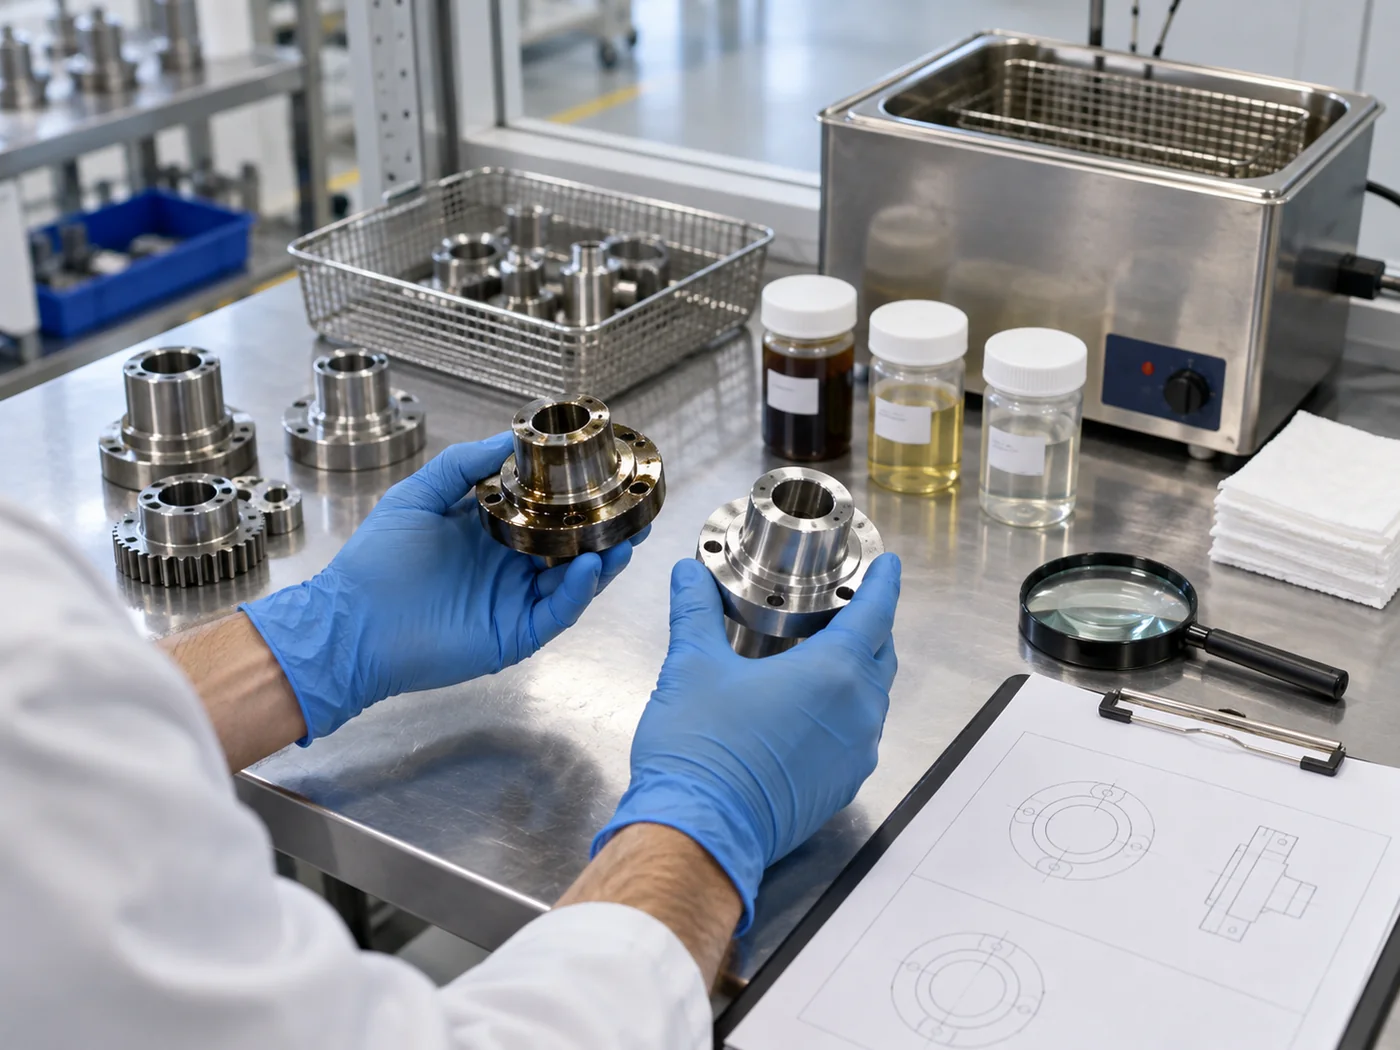
Cleaned instruments are visually inspected before sterilization, with no visible organic residue or deposits in hinges and lumens.
Cycle parameters, chemistry and loading follow the facility's validated reprocessing procedure.
Recommended Sequence
The final sequence depends on soil loading, material, rinse quality and drying behavior.
Recommended Equipment
The final specification follows process testing and production analysis.
Benchtop & Laboratory Ultrasonic Cleaners
Scientific lab ultrasonic bath with degas, sweep and precise control
View configuration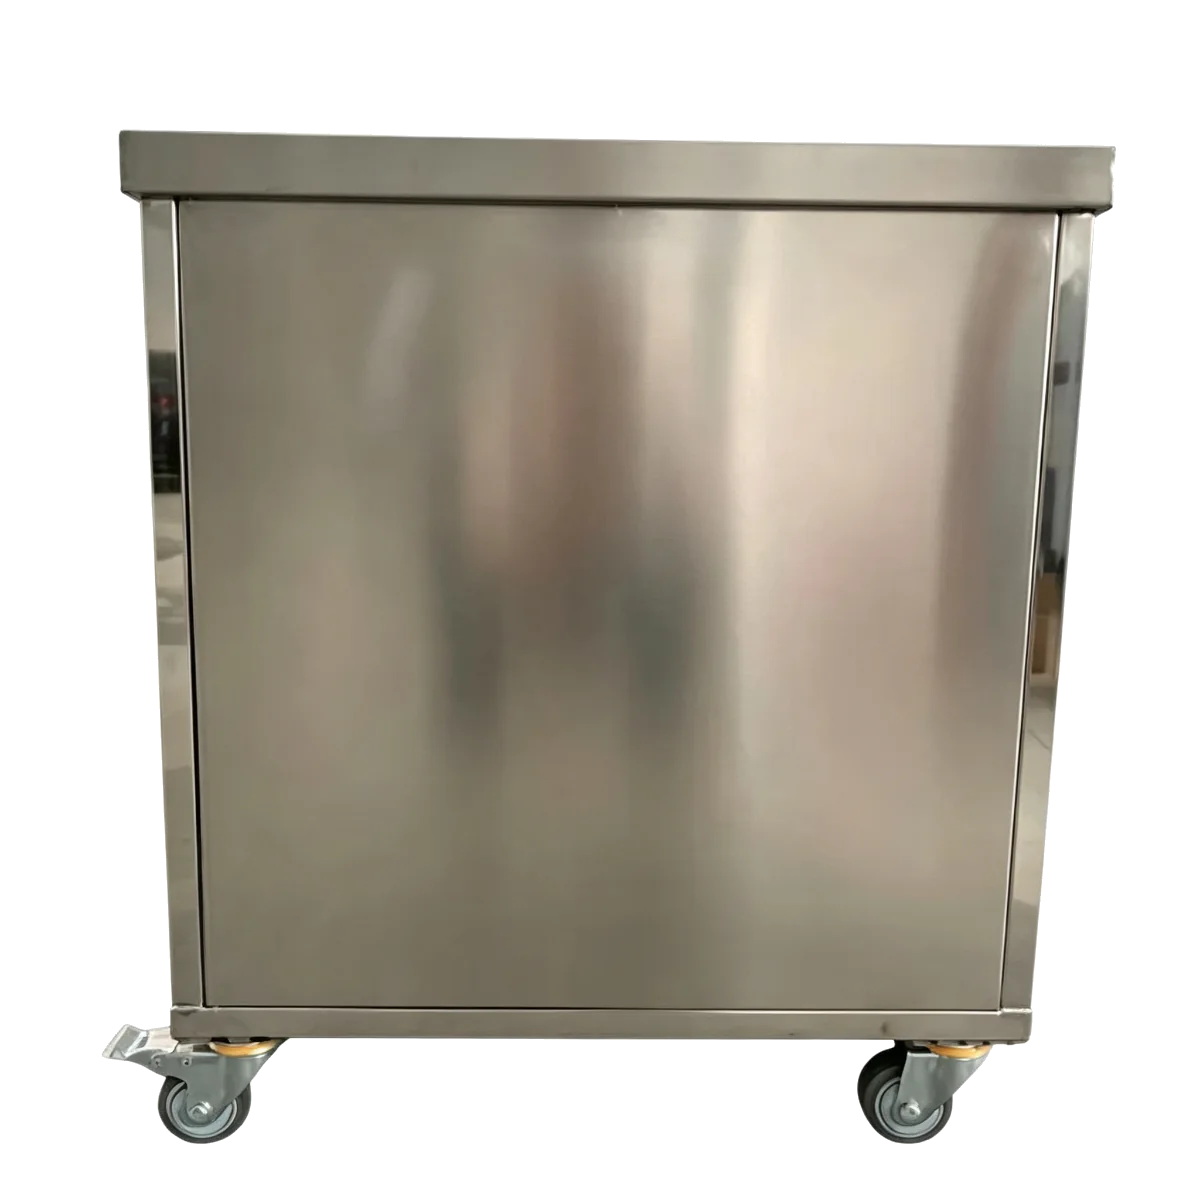
Industrial Single-Tank & Special Cleaners
Versatile heated single-tank ultrasonic parts cleaner for general industry
View configuration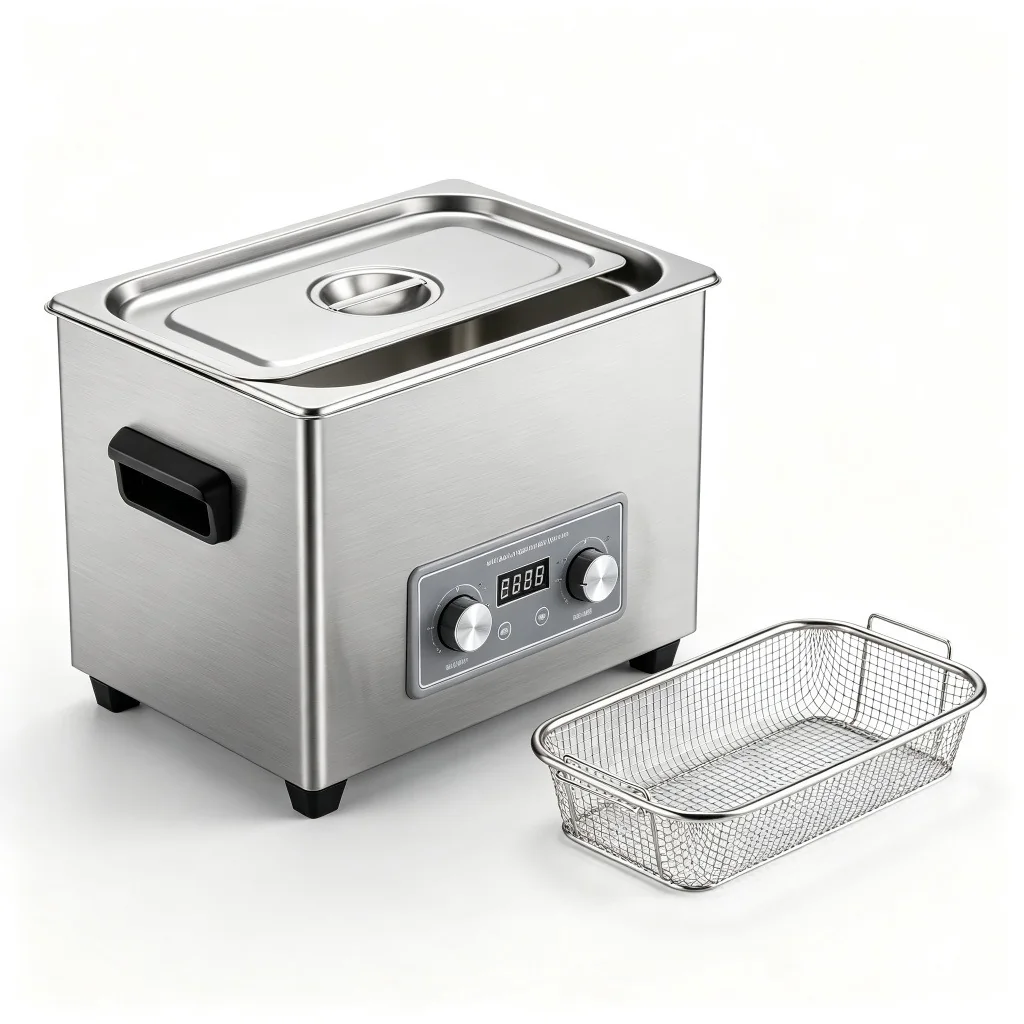
Benchtop & Laboratory Ultrasonic Cleaners
Small tabletop ultrasonic cleaners from 2 to 30 litres
View configurationProcess Controls
Confirm the part, soil, loading and final handling before fixing equipment settings.
Control 01
Record surfaces, cavities and features that can trap air or liquid.
Control 02
Test the heaviest representative contamination, not an ideal sample.
Control 03
Keep acoustic access and part spacing consistent with production.
Control 04
Match downstream handling to residue and corrosion risks.
System Selection
Stage count and automation follow the validated process and required output.
Batch
Compare for focused washing where rinsing and drying are managed separately.
Multi-stage
Add controlled stages when carryover and final condition matter.
Automatic
Evaluate automation when output, handling or recipe control requires it.
Acceptance
Use the same practical inspection method for trial samples and production parts.
Representative Trial
Trial evidence should cover normal production and the most difficult expected condition.
Application Questions
Include normal production parts and the most difficult expected geometry or contamination so the process is not based on an easy sample.
Provide part dimensions, material, soil, cleanliness target, parts per load, required output and available utilities.
No. Ultrasonic cleaning removes contamination before sterilization; it is a critical pre-treatment within the facility's reprocessing workflow and does not sterilize instruments by itself.
Enzymatic or instrument-specific ultrasonic cleaners are commonly used to break down biological soil, with concentration and temperature set by the chemical and facility procedures.
Yes, with appropriate loading and chemistry, but lumens and cannulas require attention to orientation and flow and should be validated as part of the facility procedure.
Related Applications
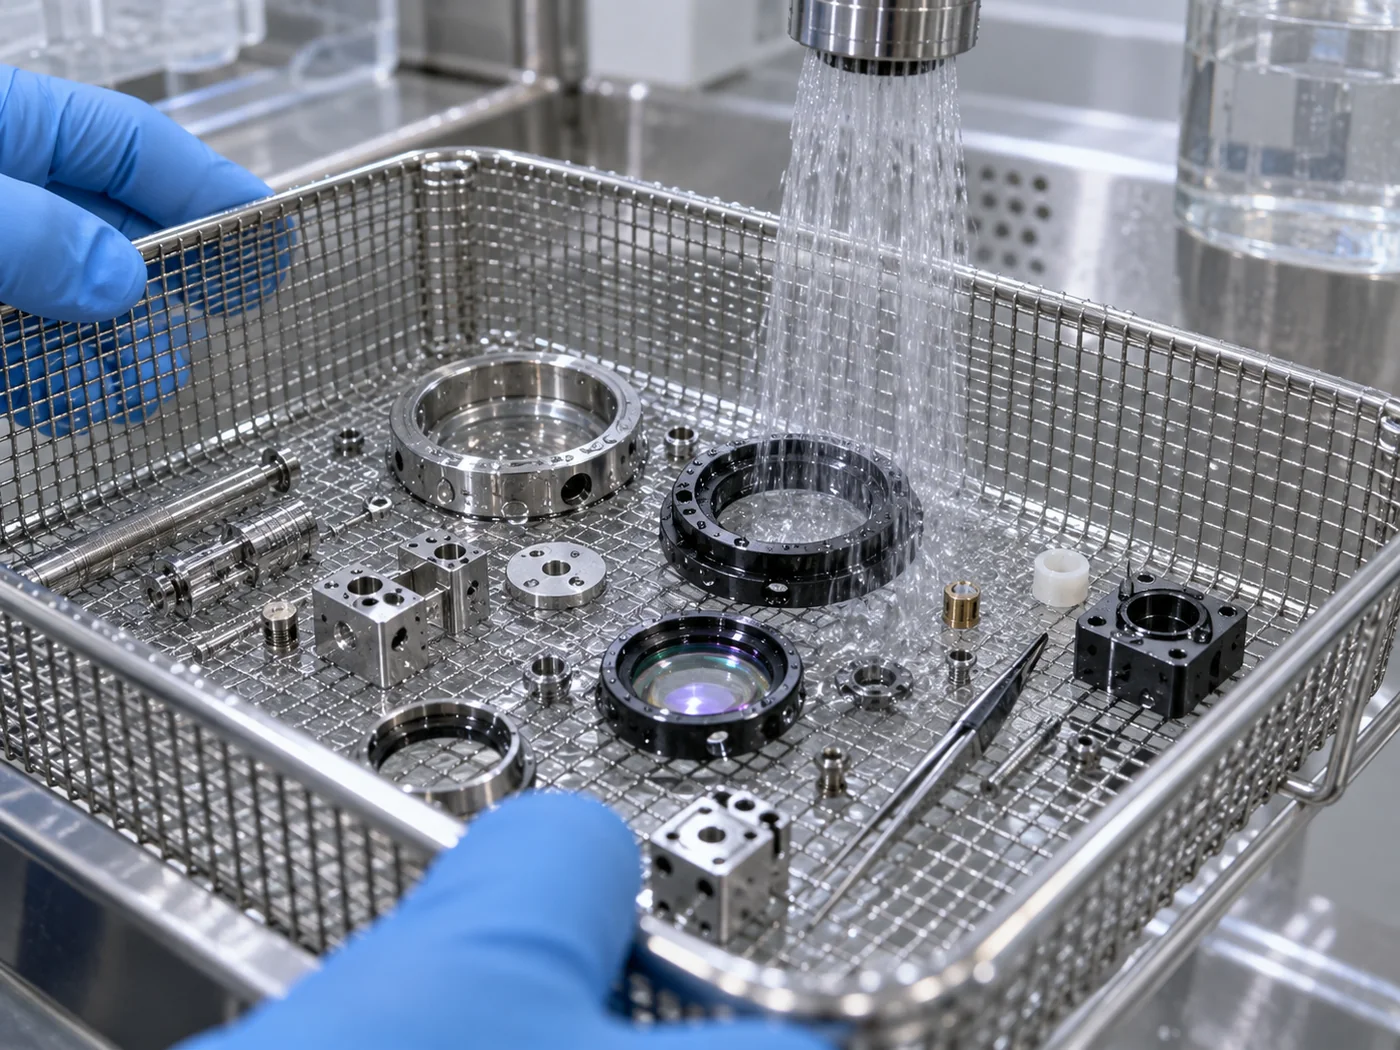
Industrial Application
Precision cleaning is controlled by particle size, surface sensitivity, rinse quality, bath condition and handling after the wash.
View cleaning approach
Industrial Application
Gentle ultrasonic cleaning removes polishing compound, particles and fingerprints from optical components without scratching coated surfaces.
View cleaning approach
Industrial Application
Gentle cleaning of rings, chains, watch bands and small components to restore shine without hand polishing.
View cleaning approach